
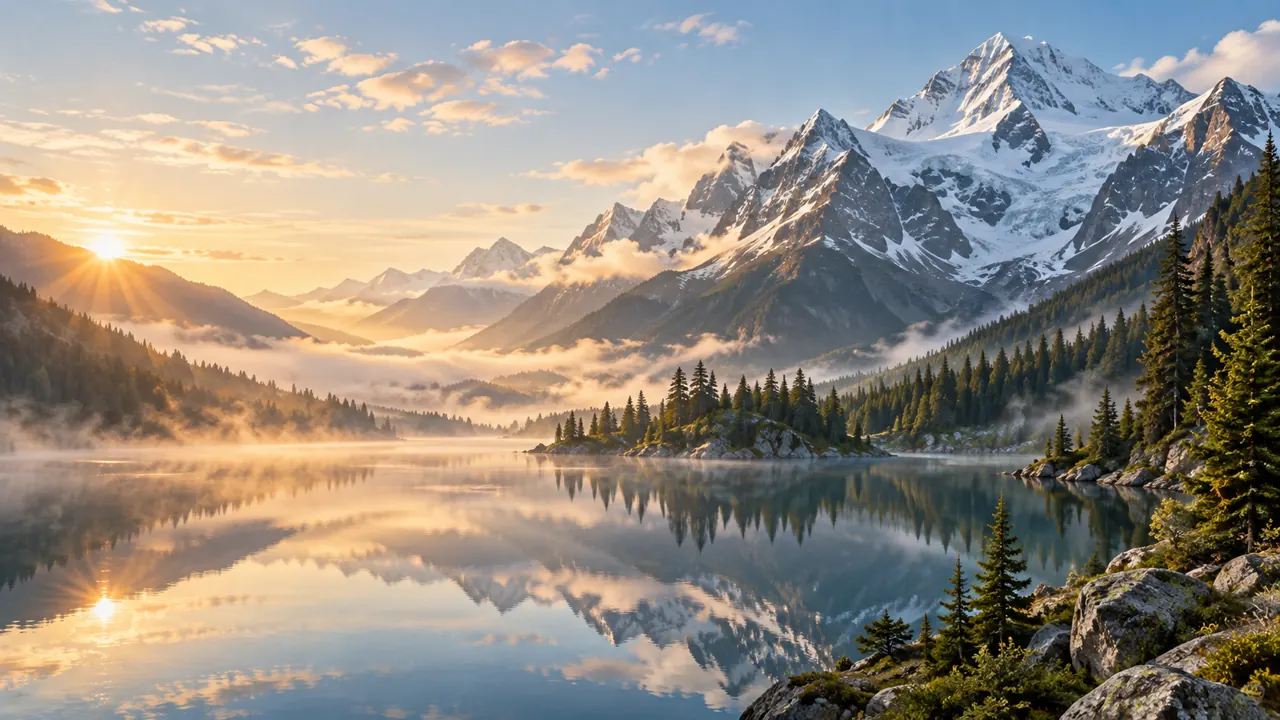
You can create an image from a written description or use an existing image as a starting point. The GenPixelArt image generator keeps both paths in one workspace. This guide follows the controls you will see there, from your first prompt to your downloaded result.
1. Sign in and check your credits
Open the generator and sign in before you generate. If you are using the free daily gift, verify your email so your account is eligible. Verified users can currently receive 100 gift credits each day. The daily gift expires and does not accumulate. Each generation costs credits, and the workspace displays the cost and your remaining balance beside the Generate action.
It is sensible to check those numbers before experimenting with a new model. Different models and options may have different costs; some require Premium access. The workspace marks restricted choices, so select a model and settings available to your account.
2. Describe the image you want
For a new image, leave the upload area empty and type into the prompt field. Start with the main subject, then add a setting, a visual style, lighting, and composition. For instance: “A quiet alpine lake at sunrise, snow-covered peaks behind it, soft mist above the water, wide cinematic composition.” That gives the model more guidance than “mountain lake” while leaving room for interpretation.
You do not need a long paragraph. Clear, specific details are more useful than a pile of unrelated adjectives. If your image needs open space for a headline, mention where that space should be. If the subject must be centered or viewed close up, say so. Try the prompt examples guide when you want a starting structure to adapt.
Before generating, read the prompt once as if you had never seen the scene. Is the central subject obvious? Do the style words support the same mood, or do they pull in different directions? A short revision at this stage may save a credit-consuming retry. Keep a copy of a prompt that works well so you can revisit its structure with a different subject later.
3. Decide whether to upload a reference
Uploading one or more source images changes the task from text-to-image to image-to-image. This is useful when you want to transform an existing visual or steer a new result with a reference. Describe the change you want in the prompt, such as a different setting or mood. Use only images you have the right to upload.
The available model list follows your input setup. If a model disappears after an upload, it may not support that image-to-image path. Remove the upload to return to text-to-image, or choose a compatible model. The uploader shows its current file limit; keep within the limits displayed in the workspace.
4. Choose a model and generate
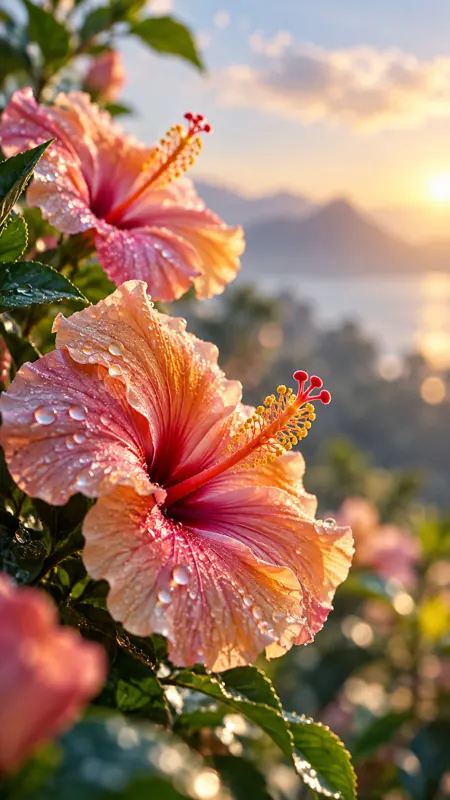
Select an available model and review any options it exposes. Some models offer extra settings; others have fewer controls. Look at the credit cost again, then press Generate. Processing time can vary. When the result appears in the preview area, look at the subject, composition, and details you care about most.
5. Refine and download
If the image missed your idea, make one focused edit to the prompt. “Closer view,” “warmer evening light,” or “less clutter in the background” gives a useful direction for the next attempt. A new generation spends credits, so compare the result with your goal before trying again. Outputs can vary by model and settings even with similar wording.
When you have an image you like, use the Download control beneath the preview. You can also select Generate New Image to start another idea. If you are curious why we make this first experience accessible, read why we offer free AI image generation. Then return to the generator workspace and create your next scene.